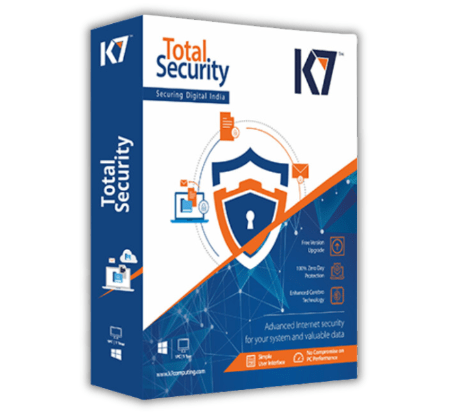


K7 Antivirus is a robust security solution designed to protect your computer from a variety of threats. With features such as real-time scanning, malware removal, and a powerful firewall, K7 Antivirus offers a multi-layered approach to security. It also includes tools for phishing protection and email security, making it an ideal choice for both home and business users.
K7 Antivirus stands out in the crowded antivirus market for several reasons:
Comprehensive Protection: Offers multiple layers of defense against various types of threats.
User-Friendly Interface: Designed for ease of use, even for non-technical users.
Affordable Pricing: Competitive pricing with various subscription options to suit different needs.
Positive User Reviews: High ratings for its effectiveness and customer support.
Operating System: Compatible with Windows (7, 8, 10, 11) and macOS.
Processor: Minimum of 1 GHz.
RAM: At least 1 GB for Windows and 2 GB for macOS.
Disk Space: At least 1.5 GB of free disk space.
K7 offers various subscription plans to cater to different users:
Single Device License: Best for individual users.
Multi-Device License: Suitable for families or small businesses.
Business Solutions: Tailored plans for larger organizations.
Choose the plan that best fits your needs before proceeding with activation.
Step 1: Purchase K7 Antivirus
To start, you need to purchase K7 Antivirus. You can buy it from:
Official Website: Always the safest option.
Authorized Retailers: Shop confidently at My PC Panda, your authorized reseller for top antivirus solutions, and ensure your devices are protected with the latest security software.
Step 2: Download the Software
Once purchased, you’ll need to download the software:
Visit the Official Website: Navigate to the download section.
Select Your Product: Choose the correct version based on your purchase.
Download the Installer: Click the download link and save the file to your computer.
Step 3: Install K7 Antivirus
Now that you have the installer, follow these steps:
Locate the Downloaded File: Go to your downloads folder.
Run the Installer: Double-click the K7 setup file.
Follow On-Screen Instructions:
Accept the license agreement.
Choose between a custom or typical installation.
Select the destination folder for installation.
Complete the Installation: Click 'Finish' once the installation is complete.
Step 4: Activation Process
After installation, it’s time to activate your K7 Antivirus.
Using Activation Key
Launch K7 Antivirus: Open the application from your desktop or start menu.
Navigate to the Activation Section: Look for the ‘Activate’ option on the home screen.
Enter Activation Key: Input the activation key you received upon purchase.
Confirm Activation: Click the confirm button to activate your software.
Activating via K7 Account
Alternatively, you can activate K7 Antivirus through your K7 account:
Create a K7 Account: If you don’t have one, visit the K7 website to register.
Login to Your Account: Use your credentials to access your dashboard.
Enter Activation Key: Find the activation section in your account and enter the key.
Step 5: Update K7 Antivirus
After activation, it’s crucial to update your antivirus to ensure you have the latest protection:
Automatic Updates: Enable this feature in the settings menu.
Manual Updates: Go to the updates section and click 'Check for Updates.'
Sometimes, users encounter issues during activation:
Invalid Activation Key: This could occur due to typos or expired keys.
Connectivity Issues: Poor internet connection can hinder the activation process.
Solutions to Common Issues
Invalid Key: Double-check the key for any errors. If it still doesn’t work, contact K7 support.
Connectivity Problems: Ensure your internet connection is stable. Try restarting your modem/router.
If you face persistent issues, reach out to K7 customer support:
Support Page: Visit the K7 website for live chat and email options.
Phone Support: Call the helpline for immediate assistance.
Regular Updates
Keeping K7 Antivirus updated is vital for ongoing protection. Follow these steps:
Automatic Updates: Go to settings and enable this feature.
Manual Check: Regularly check for updates to ensure your software is current.
Scheduled Scans
To maintain optimal security, set up regular scans:
Open K7 Antivirus: Go to the scanning section.
Schedule a Scan: Choose the frequency (daily, weekly, etc.) and the type of scan (quick or full).
Conclusion
Activating K7 Antivirus is a straightforward process that ensures your devices are protected from various digital threats. By following the steps outlined in this guide, you can enjoy peace of mind knowing that your security is in place.
Remember to keep your software updated and conduct regular scans to maintain optimal protection. With K7 Antivirus, you’re well-equipped to navigate the digital world safely.
FAQs
1. What if my activation key doesn’t work?
Ans. If your key doesn’t work, ensure you have entered it correctly. If the problem persists, contact K7 support for assistance.
2. Can I transfer my K7 license to another device?
Ans. Yes, you can transfer your license. Check K7’s license transfer policy on their website for detailed instructions.
3. How do I cancel my K7 subscription?
Ans. To cancel your subscription, log into your K7 account, navigate to the subscription section, and follow the cancellation prompts.